
Not everyone likes the same kind of frosting on a cake. For that matter, not everyone likes the same kind of cake. If you find that you’re not really sure what kind of icing you want on your wedding cake, a good way to tell is just to make a couple cakes yourself and see! This is a solid method to save some money by not having the baker make a rehearsal set just so you can taste all the icing.
These are all fabulous and relatively inexpensive frostings if you were going to make the wedding cake yourself or have a friend make it for you. Today, we’ll start with the first as well as the fundamentals of making good frosting, and classic white frosting. We recommend for test purposes, just put it on whatever kind of cake you’re going to have. While many prefer classic white cake, especially for a wedding event, there are some that will deviate from tradition and serve something like carrot cake at their wedding, and since the icing we’re learning today is plain, it will go over well with many different kinds of cake.
Using a box is fine. You are just testing things out. You may choose to learn from scratch if you’re going for a whole do-it-yourself approach, but this isn’t necessary, so long as you choose a brand you trust. For some, Duncan Hines is the enemy and Pillsbury goes over best. For others, they would never use anything other than Betty.
Frosting Fundamentals
Before reading any further, realize all frosting recipes are roadmaps, not directions. Adding the amount of sugar, vanilla, milk, or cream you need to make the icing the desired consistency and taste should be a slow process. Also, the process can and should vary depending on something like the weather, even if you always keep your thermostat set the same. Every time you make frosting, the quantity of fat to sugar to liquid will change. Every time.
You may also vary certain ratios of each ingredient to either get a creamier, more spreadable texture or a stiffer texture for piping. You’ll need to go ahead and get a few things ready before you get started. Frosting in general shares many common ingredients, and since it already takes awhile to aerate frosting, you may as well get your station prepped.
- Sift around 6 cups confectioners sugar into large container. Something that is easy to store like a large tupperware is nice. You’ll probably have some leftover, so that will make it easy to store.
- Keep a tablespoon just for the vanilla by the bottle, together and close
- Take the shortening out of the cupboard
- Keep the milk in the fridge until ready to be used
- Use fine salt
- These can be done with either a stand mixer or a hand mixer, though a stand mixer is easier.
Each of these recipes will make enough to frost a 2-tier cake from 9-inch rounds. Would also make enough to top 24 cupcakes with a classic swirl (an alternative or addition you make consider at your wedding). Today, we are going to start with
Classic White Frosting
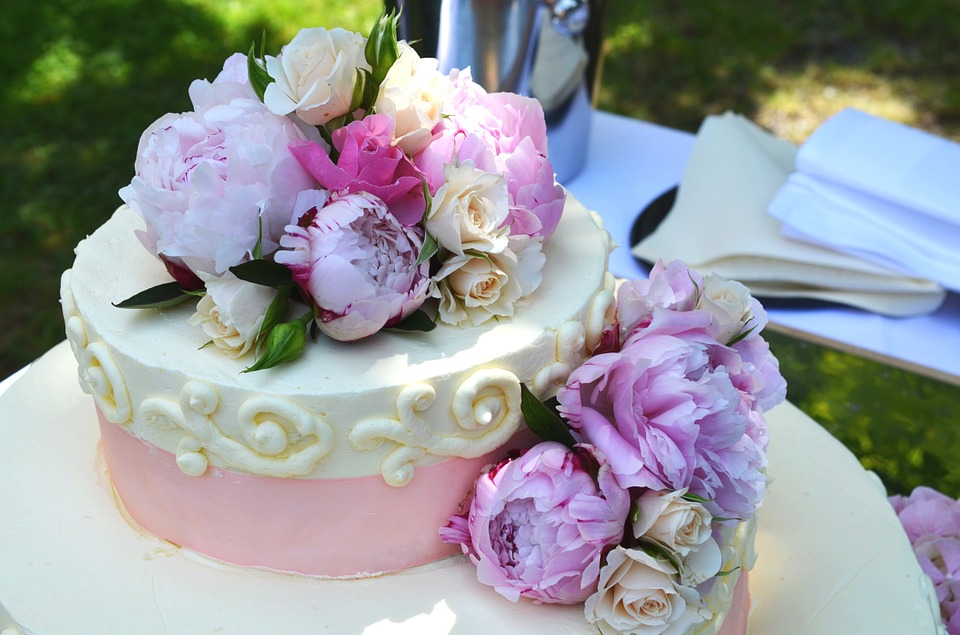
This frosting is light and fluffy and is one of the most quintessential wedding cake choices. It can be made to both spread and pipe incredibly well. It’s great for highly decorated cakes, as well as really tall cakes. It is the most stable frosting of these, probably. Especially at room temperature.
- In medium size bowl, beat 1 cup vegetable shortening alone for a few minutes on medium speed until fluffy.
- Add ⅛ teaspoon fine salt
- Add 2 tablespoons vanilla.
- Add 2 tablespoons whole milk.
You may want more of the milk, vanilla, and salt near the end after you’ve added in close to as much sugar as you want to for taste and consistency. If it’s the right consistency, but there is a subtle roughness to the sweet side, add in a pinch more fine salt. If it’s too thick to spread, a few more tablespoons of milk would be the solution. Fluffy, sweet, balanced, and bland? Chances are you need more vanilla. This principle applies the same way across other vanilla frostings. However you’ll do all this after you add the most important ingredient, the sugar.
- Add the sifted confectioners sugar slowly.
- Add about a cup at a time, constantly scraping the sides of the bowl and beating at medium speed. After each addition of sugar, give it a beating on high.
- Once you’ve added around 3-4 cups of sugar, give your icing a try. Chances are, it will need more.
- Continue to add ½ cup sugar at a time, tasting along the way. 5 to 6 cups of sugar should give the desired sweetness. It may be necessary to go as high as 7 cups for piping.
It is likely that with shortening, you may have to add the entire amount of sugar to get rid of a certain mouthfeel some find undesirable. Once the desired sweetness is achieved, you may want to add just another pinch of salt if you can still taste the confectioners sugar. Another tablespoon or 2 of milk, even when piping, is probably needed. If spreading, you may need 4-8 more tablespoons of milk. You may want more vanilla, but that is up to taste. Just keep beating and scraping while you add these things.
Add in about another ¼ cup of sugar and beat on high for a few minutes. This is to give the icing that final bit of fluff and aerating. Once it looks beautiful, take a taste from the beaters once you’ve pulled them out. If you’ve gone slowly enough, tasted along the way, and followed your taste buds, you will likely have the perfect white frosting right now.
Carry these practices with you as we go to make our classic buttercream frosting and Cream Cheese Frosting in our next blog.