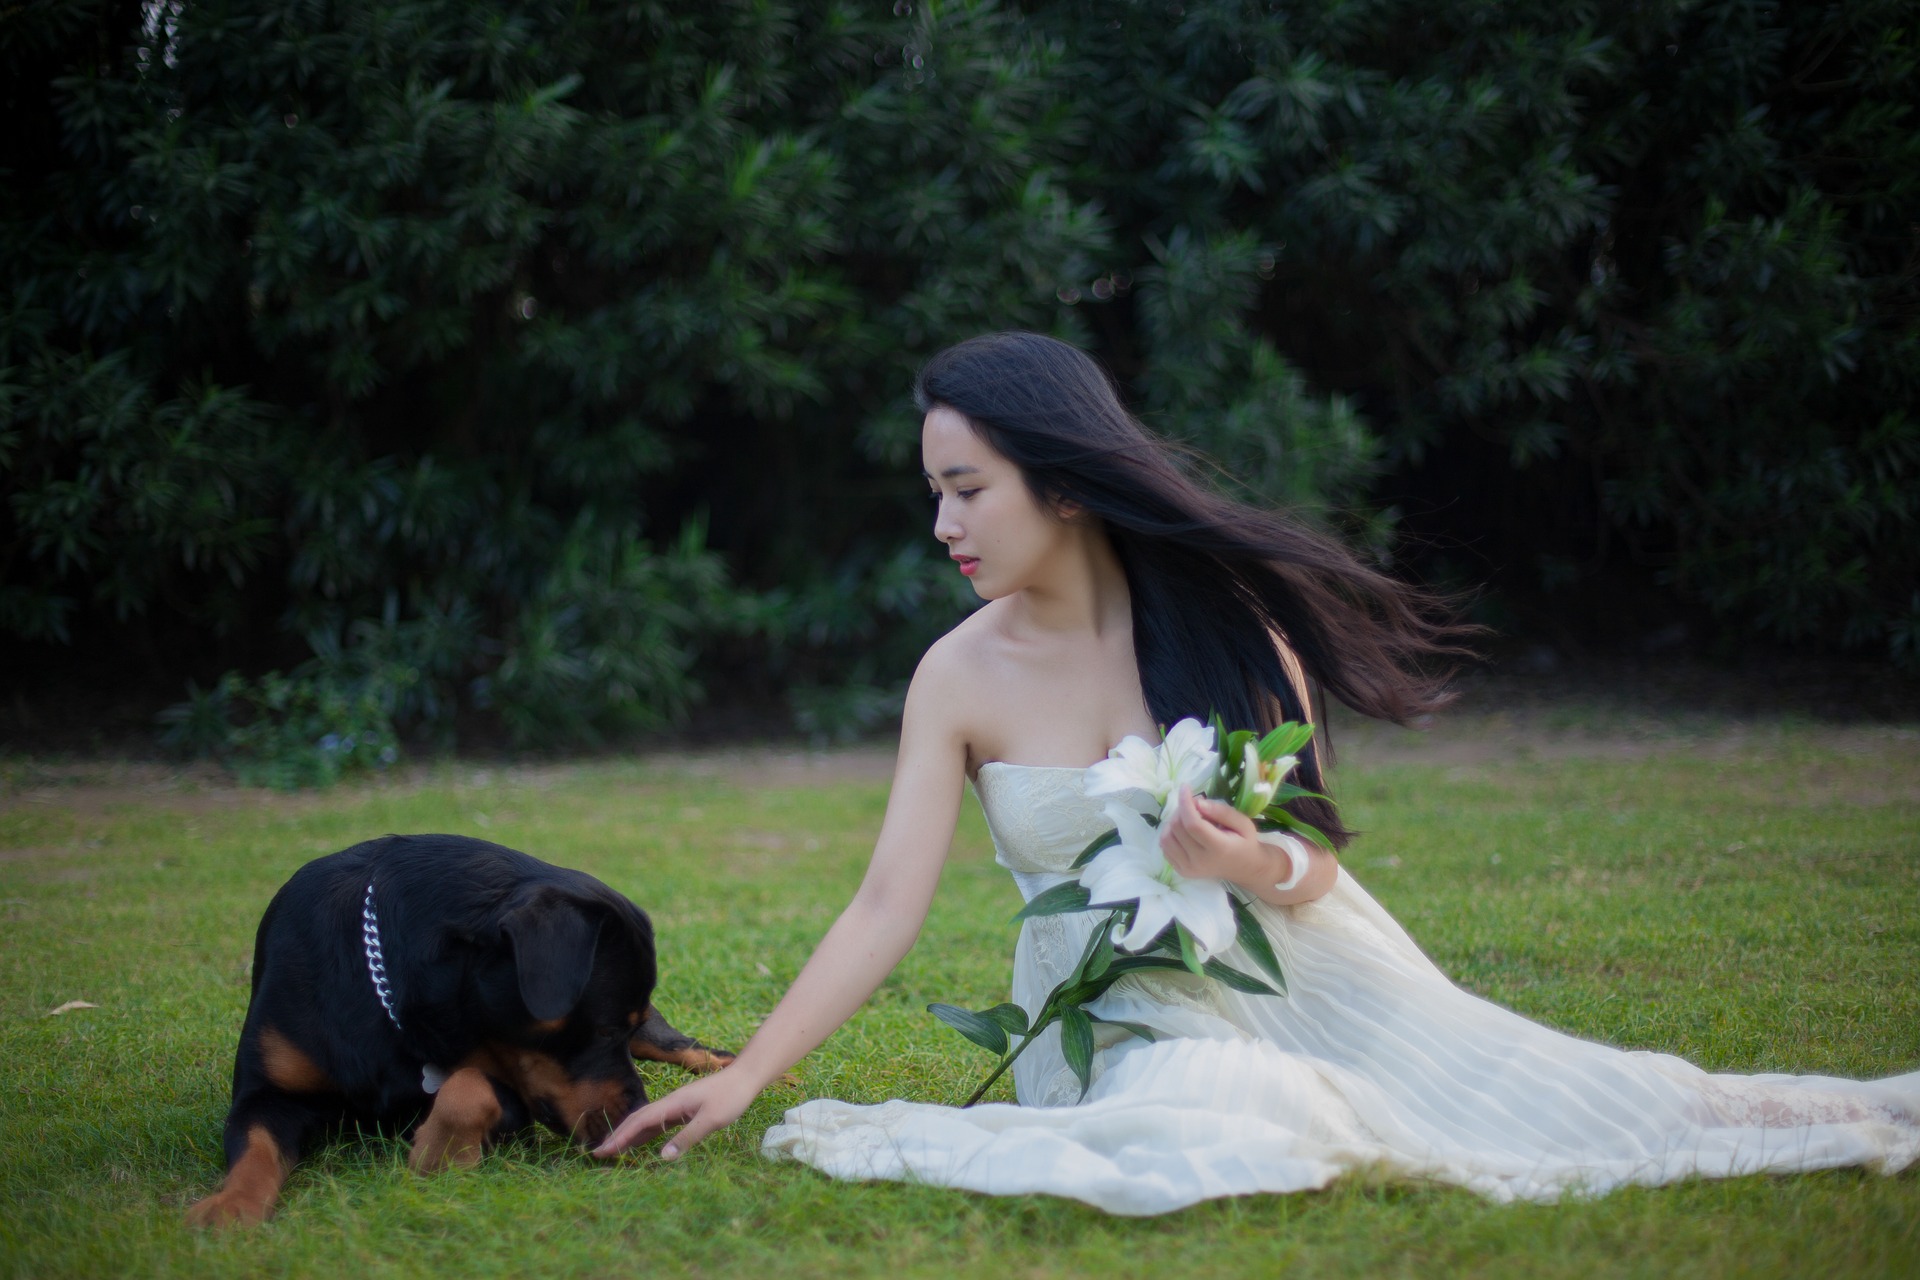
Finding a hairstyle for your wedding day can be a tough task. With so many options, it’s easy to feel overwhelmed. You might want to go simple for your hair, to let the rest of your outfit and accessories shine. Here are 5 DIY Hairstyles to consider for your wedding day!
Braided Bun
This hairstyle is very sleek and will keep the hair out of your face, allowing you more comfort on the dance floor. The style starts with separating the top of your hair for the first braid. Once you have done this, create the braid, by splitting your hair into three equal sections. Xross the right over the middle, then cross left over the right into the middle, and continue for the rest of your hair. Securing this braid with a hair elastic is crucial next step. Braid the bottom section by repeating the same steps from before. Turn your bottom braid into the bun, tucking the bun into place with bobby pins. The final step is to wrap your top braid around the bun or tuck your top braid into the bottom bun section.
Casual side pony
While typically more casual, this style can also be made fancy for a wedding day. This style is for a bride who wants to be more modern on the big day. For starters, this style should be done with day-old hair, or if you have washed your hair, use a volumizing spray for added texture.
Make a deep side part. Tip: using a rat tail comb can help to create an extra straight part. Brush the top quarter of your hair backwards towards your scalp, so it becomes sort of frizzy; this is called backcombing. Brush the top layer of your hair gently, making the hair smooth on top, and hiding all the backcombing done under this top layer. Make a ponytail with the rest of your hair, making it as tight as you can with a rubber band and securing the top layer. You can leave the hairband exposed or hide it with a small section of hair, using a pin to secure it. This style is supposed to be a bit messy, so use your fingers to make the ponytail match the texture at the top of your hair.
A Twisted “Braid”
The braided style is chic and very elegant for a bride with medium to long hair. The style starts with taking parts of your hair in symmetrical sections from each side of your head. Pull the two side sections of your hair into a ponytail with an elastic, one that matches the color of your hair. Next, flip the little ponytail through the loop. Repeat this process with two more sections from the sides (right under the first sections). Once you have the first two twisted ponytails, secure them together with a hairpin and pull pieces to create volume. Continue making the tiny ponytails and securing them with pins to gather all hair from the sides. When you can no longer create the ponytail braids, end by using a fishtail braid and secure with an elastic.
A New Kind of Twist
This style is simple and you don’t need much to accomplish the final look, but it works best with a lot of thick, long hair. A simple ponytail is how to start this easy look for your big day. After the ponytail is secured, twist the ponytail and start pinning it into a sideways figure-eight, going to the left, up and around. Once back in the middle, use bobby pins to make sure you keep pulling from the same side. Now start twisting your hair downward and to the right to form the second half of the sideways “eight” shape. Keep securing your hair with pins as you go, and when you get to the bottom, use any small pins you have to ensure the last bits of hair of tight. The final step is to smooth the sides of your hair and you’re good to go.
A Waterfall Braid
Some brides might want a unique hairstyle, however, they don’t want all of their hair pinned up into the braid. The Waterfall braid is perfect because it lets every other strand fall through the braid and hang down, creating a braided crown behind the head. This style starts by taking two pieces of hair from one side of a center part, and crossing the side section over the top piece so it’s away from your face. Next, take a new section of hair from the top as if you were beginning to french-braid, but instead, let the piece fall down. The waterfall is created by dropping the section you just crossed.
Continue by pulling the next section from the side and crossing over the first waterfall. Then take another section from the top, cross over, and let it drop. Repeat the process for as many pieces as you would like, creating a crown around the head towards the middle. Once completed, secure the last braid with an elastic and use bobby pins in an x shape to fasten the end under the remaining hair hanging down at the back of the head. Drop the rest of your hair over the pins to hide them and the look is complete.
When it comes to wedding hair there is a lot to consider. Talk to a stylist or even family and friends about which style would look best on you. Still looking for the perfect dress to complete your wedding look? Check out our selection.

